Emulating a Back-End Server for Electron Applications
When creating an Electron app, you might find yourself having to deal with interprocess communication (IPC). However, you can use the familiar client-server communication approach from web development. Without starting a local server.
This approach would give you a partial independence from the stack. You could simply run a server locally and access the user interface from the browser. Or port your app to be used in a browser, once all the needed features are available there.
You can find the source code in my repository. This solution is also available as a Node.js module on npm. There is also a short usage example at the end of the article.
Structure
-
Server: serves API and possibly your front-end code;
-
Electron: entry to your app, as usual;
-
Proxy: intercepts your “server” requests and emulates results.
Dependencies
I am going to use Express.js to create a server and light-my-request to emulate requests to the server:
npm install express light-my-requestServer
I am going to use Express. For the sake of simplicity, our server will have one API endpoint: /api/ping returning a string "Pong".
// server.js
import express from "express"

export const server = express()
server.get("/api/ping", (request, response) => {
    response.setHeader("Content-Type", "text/html")
    response.send("Pong")
})
You could also let the server handle your front-end files or even perform requests to your bundler’s development server.
Electron
We do not have the proxy yet, but we need to understand how it is going to be used. This is mostly boilerplate code, but the important part is the protocol.handle call. It allows us to intercept requests using a specified protocol (in our case HTTP).
// app.js
import { app, protocol, BrowserWindow } from "electron"
import { createProxy } from "./proxy.js"
import { server } from "./server.js"

const baseURL = new URL("http://example-app.local")

function createMainWindow() {
    const window = new BrowserWindow()
    const url = new URL("./api/ping", baseURL)
    window.loadURL(url.toString())
}

function onAppReady() {
    // Here we register our proxy
    protocol.handle(
        // We do not want the ‘:’ at the end
        baseURL.protocol.slice(0, -1),
        createProxy(baseURL, server)
    )

    createMainWindow()
}

function onAllWindowsClosed() {
    if (process.platform !== "darwin") {
        app.quit()
    }
}

function onActivated() {
    if (BrowserWindow.getAllWindows().length === 0) {
        createMainWindow()
    }
}

app.whenReady().then(onAppReady).catch(console.error)
app.on("window-all-closed", onAllWindowsClosed)
app.on("activate", onActivated)
Proxy
What we want the proxy to do is:
-
emulate a backend request if the host matches our base URL;
-
perform a normal request otherwise.
createProxy is going to return a function that will be executed on every HTTP request. That function has to return a Response object. Here is the skeleton for our code:
// proxy.js

// To perform a normal request
import { net } from "electron"
// To emulate a request to the back end
import inject from "light-my-request"

export function createProxy(baseURL, server) {
    return request => {
        const url = new URL(request.url)

        // If the host doesn’t match our base URL:
        if (url.hostname !== baseURL.hostname) {
            // Simply send the request.
            return fetch(request)
        }

        // Otherwise we want to emulate the request.
        return emulateRequest({ server, baseURL, url, request })
    }
}
Now we need to define the function that is going to emulate our request. It simply calls the inject function from the light-my-request library, adapting the argument and response types to the ones we need.
const cacheDisablingHeaders = {
    "Cache-Control": "no-cache, no-store, must-revalidate",
    "Pragma": "no-cache",
    "Expires": 0,
    "If-None-Match": null
}

async function emulateRequest({ server, baseURL, url, request }) {
    // This function call simply emulates the request.
    const response = await inject(server, {
        method: request.method,
        url: request.url,
        query: url.search,
        remoteAddress: new URL("/", baseURL).toString(),
        body: Buffer.from(await request.arrayBuffer()),
        // We need to convert request headers to the right format and add a few more to prevent errors.
        headers: {
            ...Object.fromEntries([...request.headers]),
            // We don’t want to cache the result
            ...cacheDisablingHeaders
        }
    }).end()

    // Convert the response to a Node.js’ Response object.
    return new Response(response.body, {
        headers: response.headers,
        status: response.statusCode,
        statusText: response.statusMessage
    })
}
As you might have noticed, we disable caching for these local requests. The reason is that Node.js throws an error when trying to create a Response object with status 304 Not Modified. I am not sure whether there are other ways to prevent this error from happening, but the current approach works.
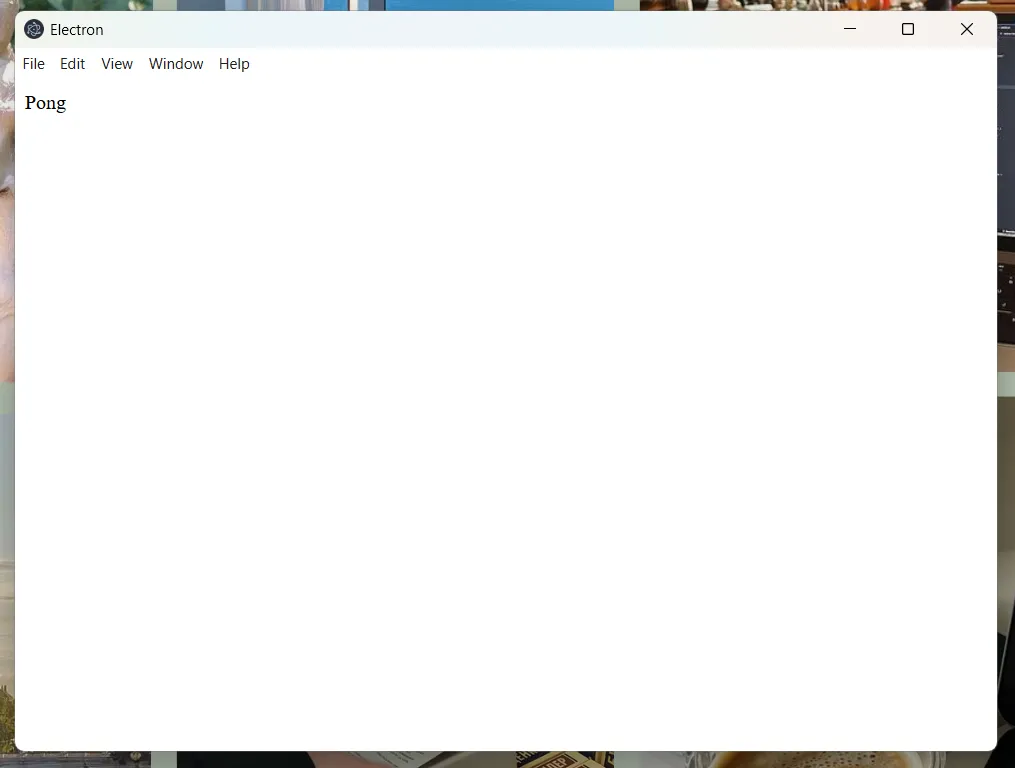
The Result
If you run npx electron app.js, you should see the following:
Library
To make this approach reusable, I published a library that does all of this for you. First, add it as a dependency to your project:
npm install electron-client-server electronThen import it in your entry file:
import { applyProxy } from "electron-client-server"Define the URL that will be considered as the server address:
const baseURL = new URL("http://localhost:5173")Last, in a callback after app.whenReady(), call:
applyProxy("http", baseURL, server)I have only tested it with Express. Fastify should also work. And probably even other libraries.
If you find any bugs or suggestions, please consider opening an issue on the repository page.